
If you haven't heard of Bakerella's Blog you definately need to check her out! She started her blog in 2007 and has been baking and posting her amazing creations since.
So the other day she put up these amazing cute little Cake Pops that she made and I was inspired had to try them out my self. Mine didn't turn out nearly as cute as hers but they were devoured so that tells me something.
Here are my steps to making the Cake Pops. Hop on over to Bakerella's Blog to see the recipe.
Bake me a cake as fast as you can!
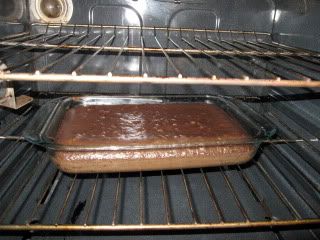
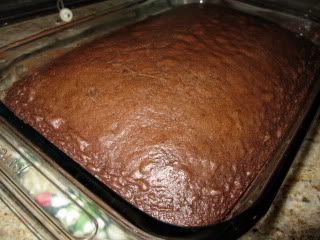
Pretty nice cake isn't it? Well don't get too attached to this photo, or your cake for that matter if you are following along.
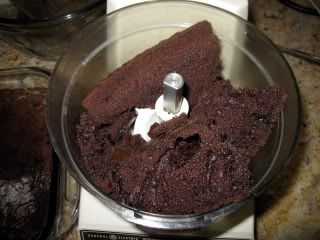
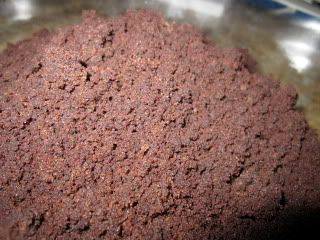
Stick your cake in a food processor! What!!! Yep, you are going to have to shred your cake to pieces!Wait till it is cool first then stick chunks into a food processor until it is finely ground, pour into a bowl.
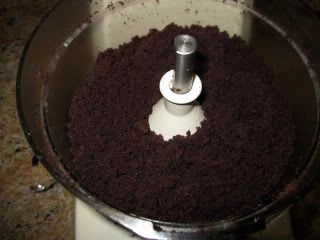
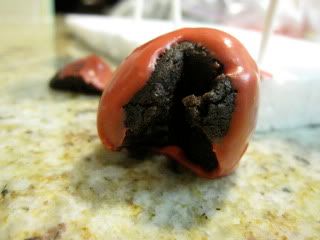
Here is what your cake should look like now. It looks like the beginning to a dirt dessert, remember those in elementary school, ground up oreos and pudding with gummy worms! Yum.
Ok so now you have it all ground up, throw some frosting on top. Literally throw it, frosting is thick so it doesn't just slide off your spoon or spatula easily. You are going to have to chuck it off. I only used about a fourth of the frosting, you don't need a lot.
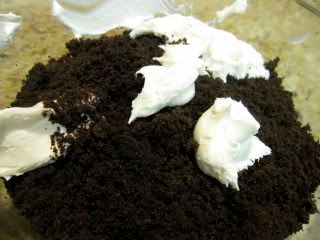
Now its time to get messy, mash up your cake mixture with your hands, you can use a spoon but your hands is more fun! You want your mixture to be like one big ball in the end. Once it is like that start making little balls.

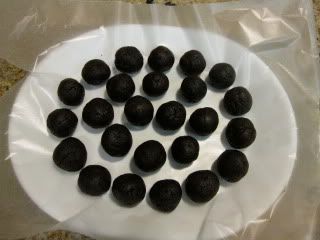
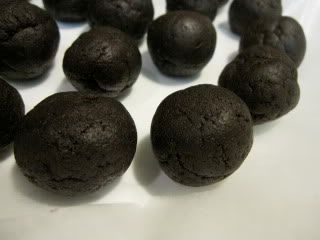
Cake Balls! So start rolling our a million little balls. I put mine on wax paper and then on a plate so I could put them in the freezer easier. So once you have finished rolling all your balls pop them in the freezer for a little, about 10-15 minutes just so they can harden. Don't freeze them or make them too cold because then they won't dip well.
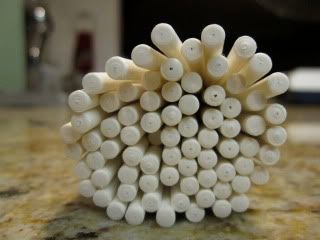
Here comes the hard part. Turning your cake balls into cake pops.You will need lollipop sticks. Local craft stores have them in the Cake Decorating isles usually.
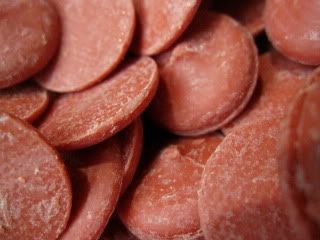
You will also need Candy Melts. I chose red but they come in tons of different colors.
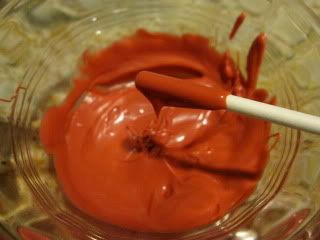
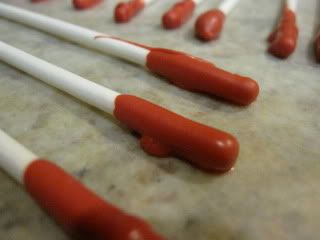
So melt your candy melts as directed on the package, usually its just pop it in the microwave for 30 second intervals, stirring in between.Then dip in your lollipop sticks so there is a little bit of chocolate on the stick.

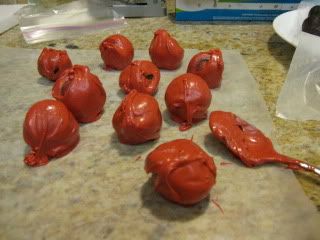
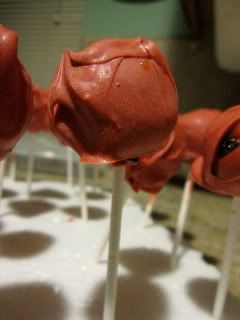
Here is a part I don't really have photos of, because it was extremely tragic. So you are supposed to stick the lollipop stick into your cake ball then dip that into the chocolate and turn it a little to make it nice and smooth. Welllllll, there is a problem with that.Sounds so easy right? Well its a lot harder than it looks and I gave up. Every single cake ball fell off its stick and into the chocolate, so I had to dig it out with my fingers (this is why I don't have pictures because I had chocolate covered fingers)So after digging the first few out i just decided to dip them with a spoon and cover the ball as much as possible. Now I'm making Messy Cake Balls! Yay!
But then I had all these sticks left over, so i figured might as well use them.
I stuck all the sticks into all the covered cake balls. I had a lot left uncovered because I ran out of chocolate. Once they were on the stick I jammed the stick into styrofoam so they would stand up to dry.
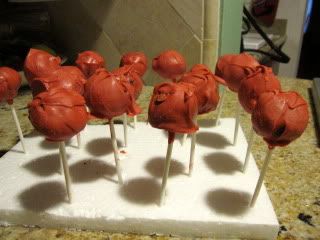
This one looks yummy huh? Not perfect but good enough to eat!
Oh know! Man down! I had a little problem with falling cake balls! Some of them were too hot still when I stuck them on the stick an slid right off.
 So that was my adventure with making Bakerella's Cake Pops. Hopefully my next adventure will be a little prettier, I can't say it wasn't successful because they were gone before I knew it!

No comments:
Post a Comment